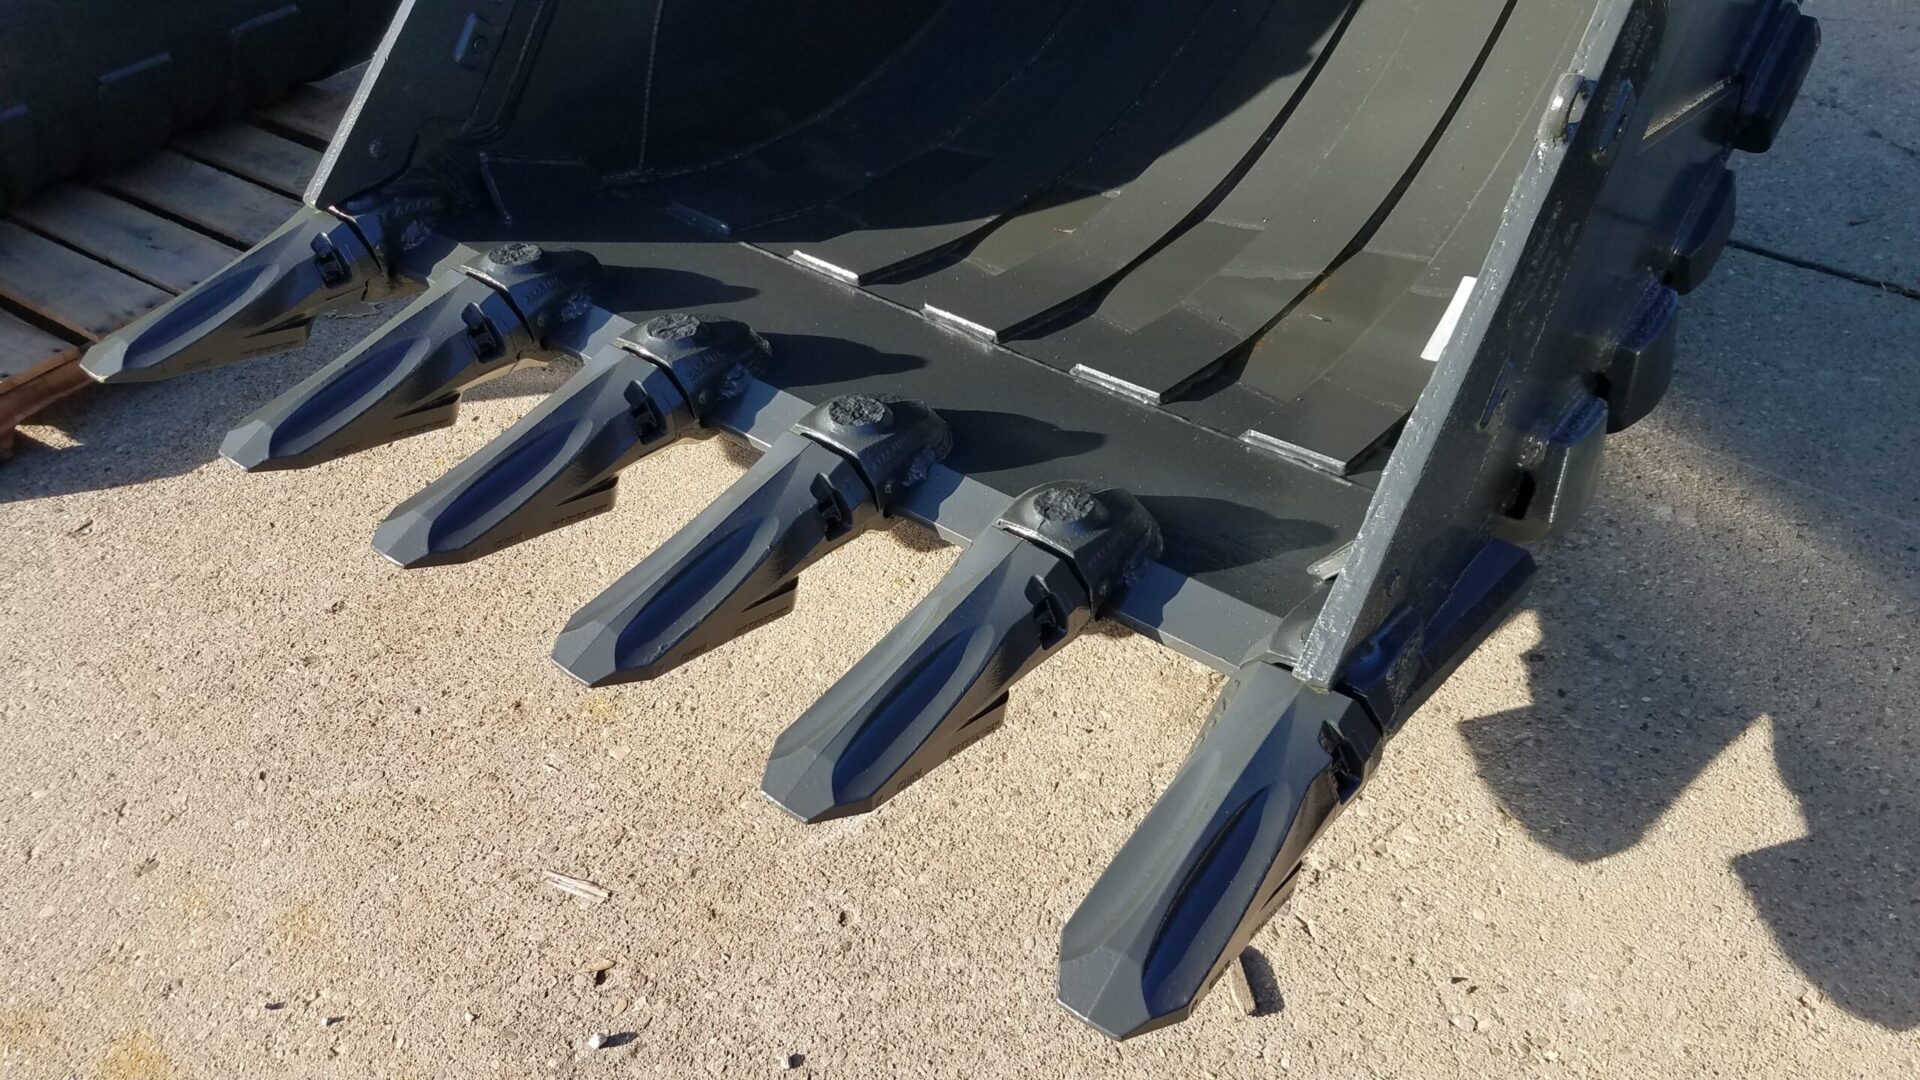
Ground engaging tools (GET), such as bucket teeth and adapters, are essential components of construction equipment in Texas. Due to the challenging and variable terrains, they often need to be replaced to maintain the effectiveness of your machinery.
Step 1: Safety First
Before you begin, ensure you have the necessary safety gear, including gloves, safety glasses, and appropriate clothing. Working on heavy machinery always carries some risks, so taking safety precautions is paramount.
Step 2: Gather the Tools and Parts
To get started, you will need the following tools and replacement parts:
- Wrenches or socket set.
- Hammer or mallet
- Pry bar or crowbar
- New bucket teeth and adapters
- Torque wrench
Make sure you have the correct replacement parts for your specific machinery.
Step 3: Secure the Equipment
Park the excavator on level ground, engage the parking brake, and shut off the engine. It’s crucial to ensure the machine is stable and secure before you start working on it.
Step 4: Remove the Old Teeth
Using the wrenches or socket set, carefully remove the nuts and bolts securing the old teeth and adapters to the bucket. If they are stuck due to rust or wear, you may need to use a hammer and pry bar to loosen them. Be patient and avoid using excessive force to prevent damage to the bucket.
Step 5: Inspect the Bucket
Once the old GET components are removed, take a moment to inspect the bucket for any wear, damage, or deformation. If necessary, address any issues before installing the new components.
Step 6: Install the New Teeth and Adapters
Position the new teeth and adapters in their designated spots on the bucket. Make sure they are aligned correctly with the pre-drilled holes. Insert the new bolts through the holes in the GET components and into the bucket.
Step 7: Torque the Bolts
Using a torque wrench, tighten the bolts to the manufacturer’s recommended specifications. This is essential for maintaining the integrity of the GET components and ensuring they stay securely in place during operation.
Step 8: Double-Check and Test
After you have torqued all the bolts, double-check to ensure everything is properly installed. Confirm that the new teeth and adapters are secure and aligned. Once you are confident in the installation, start the equipment and test it in a controlled environment to make sure everything is functioning as expected.
Tips for Successful GET Replacement:
- Regular Inspection: Inspect your GET components regularly for signs of wear, and replace them as needed. This proactive approach can help prevent unexpected downtime.
- Use Quality Components: Invest in high-quality GET components to ensure durability and performance in the tough Texas conditions.
- Proper Torque: Always use a torque wrench to ensure the bolts are tightened to the manufacturer’s specifications. This prevents overtightening, which can lead to damage.
- Consult the Manual: If you are uncertain about the replacement process, consult the equipment’s manual or seek guidance from a professional.
Replacing ground engaging tool components like bucket teeth and adapters doesn’t have to be a complicated task for Texas contractors. By following these step-by-step instructions and tips, you can keep your equipment in top working condition, ensuring that it continues to perform effectively in the diverse terrains and challenging conditions of the Lone Star State. Regular maintenance and timely GET replacements are key to a successful and efficient construction operation in Texas.
For more information and all of your ground engaging tools/attachments such as replacement teeth, contact Texas Contractors Equipment at 713.776.1212 today or visit us online!


Leave a Reply